The art of gunsmithing goes back hundreds of years to the introduction of black powder in China around 1200 AD. From then up through the early 1900s, building firearms was a slow, painstaking process, and to this day still requires the smith to have vast knowledge in metal and woodworking. Today we’re going to dig into what gunsmithing tools you need to be a gunsmith, a real gunsmith, not just someone who puts a complete AR upper on a complete AR lower.
To introduce this, I want to touch on my skills and qualifications. I am not a certified gunsmith; however, I play one on Youtube from time to time. I see myself as a garage tinkerer with the skills to reasonably use the big machines in my home shop, but I am by no means a true certified gunsmith. I have loads of books with excellent knowledge and much time behind my bench, and I find my work adequate for my needs. I hope I can pass some of that gun knowledge on to you and possibly get some of you interested in the dying art of gunsmithing. For the most part, tools will be an investment and cost you some coin, don’t skimp if you can avoid it.
BENCH TOOLS
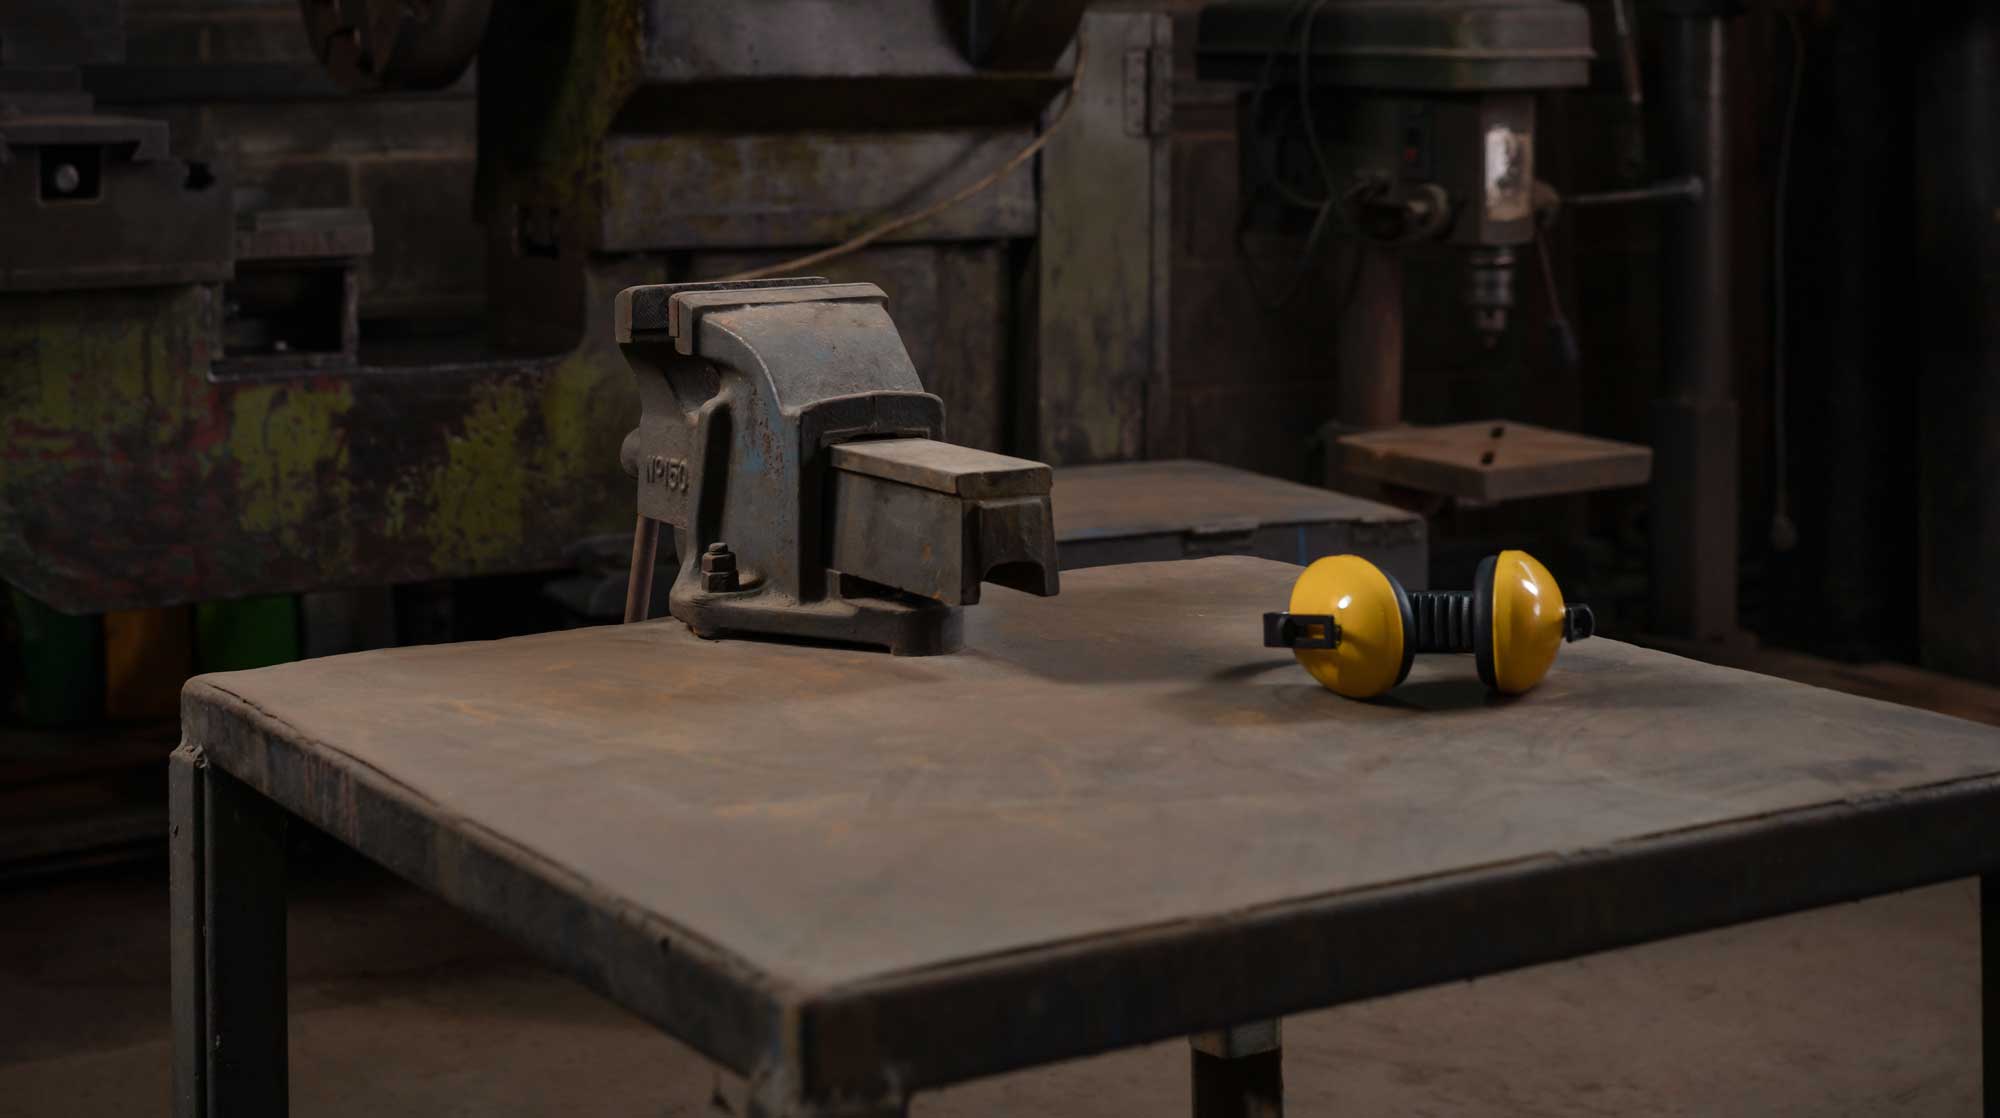
Let’s talk about bench tools and what you will want to have around. Number one is a workbench. If you have nothing else in your garage or shop, pick up a heavy workbench and bolt it to the studs in the walls or the ground; there is nothing worse than a wobbly workbench. I initially built my reloading bench with 2x4s and plywood, and it worked great for a time, but as I started working on bigger and better projects, I found I wanted more space. I’m currently using a 72” bench and discovered that it’s plenty of room.
Next up, you’ll want a nice gun vise. I got lucky and was given a nice “old world” vise from the 40s, which has been excellent. A good quality vise will pay dividends, so don’t cheap out. 60-year-old castings are fantastic and, if taken care of properly, will outlast you. If you have the money on hand and want to buy new, look at German or American-made vises like Wilton; As I said, they will cost you but will pay for themselves very quickly. I’ve not found the swivel-style vises necessary as I move around the work, but if you have the extra money, go for it. Make sure you bolt your vise down tightly; nothing is more frustrating than a wobbly vise.
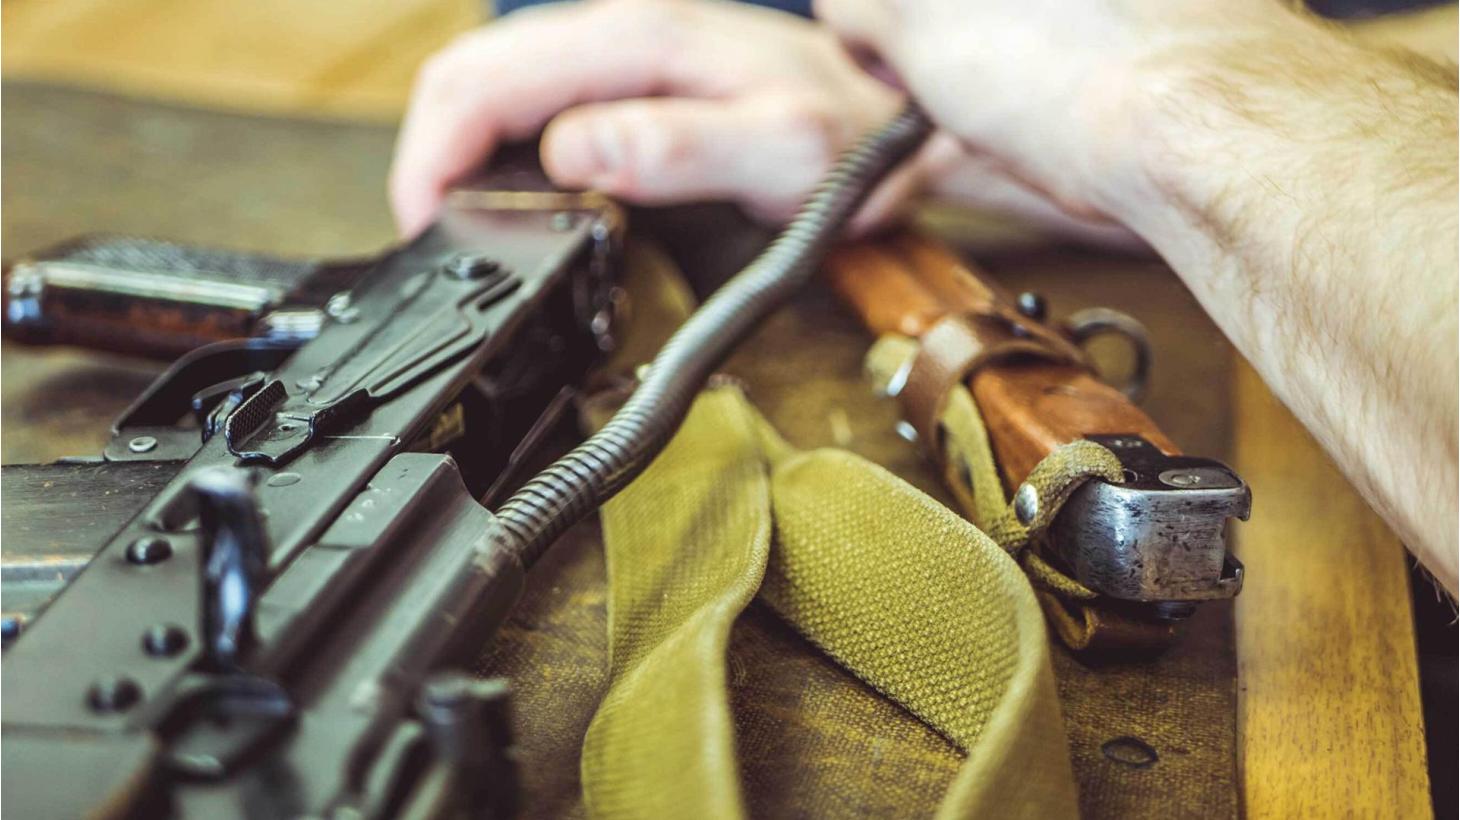
HAND TOOLS
Next, let’s talk about hand tools. I will list these as self-explanatory, but I will briefly explain.
Brass hammer– I prefer a brass hammer over the hard plastic ones you can get. In either direction, ensure it’s non-marring and heavy enough to work for your task. Don’t use your 10-penny decking nail hammer. Check out the Master Gunsmith Interchangeable Hammer Set by Wheeler.
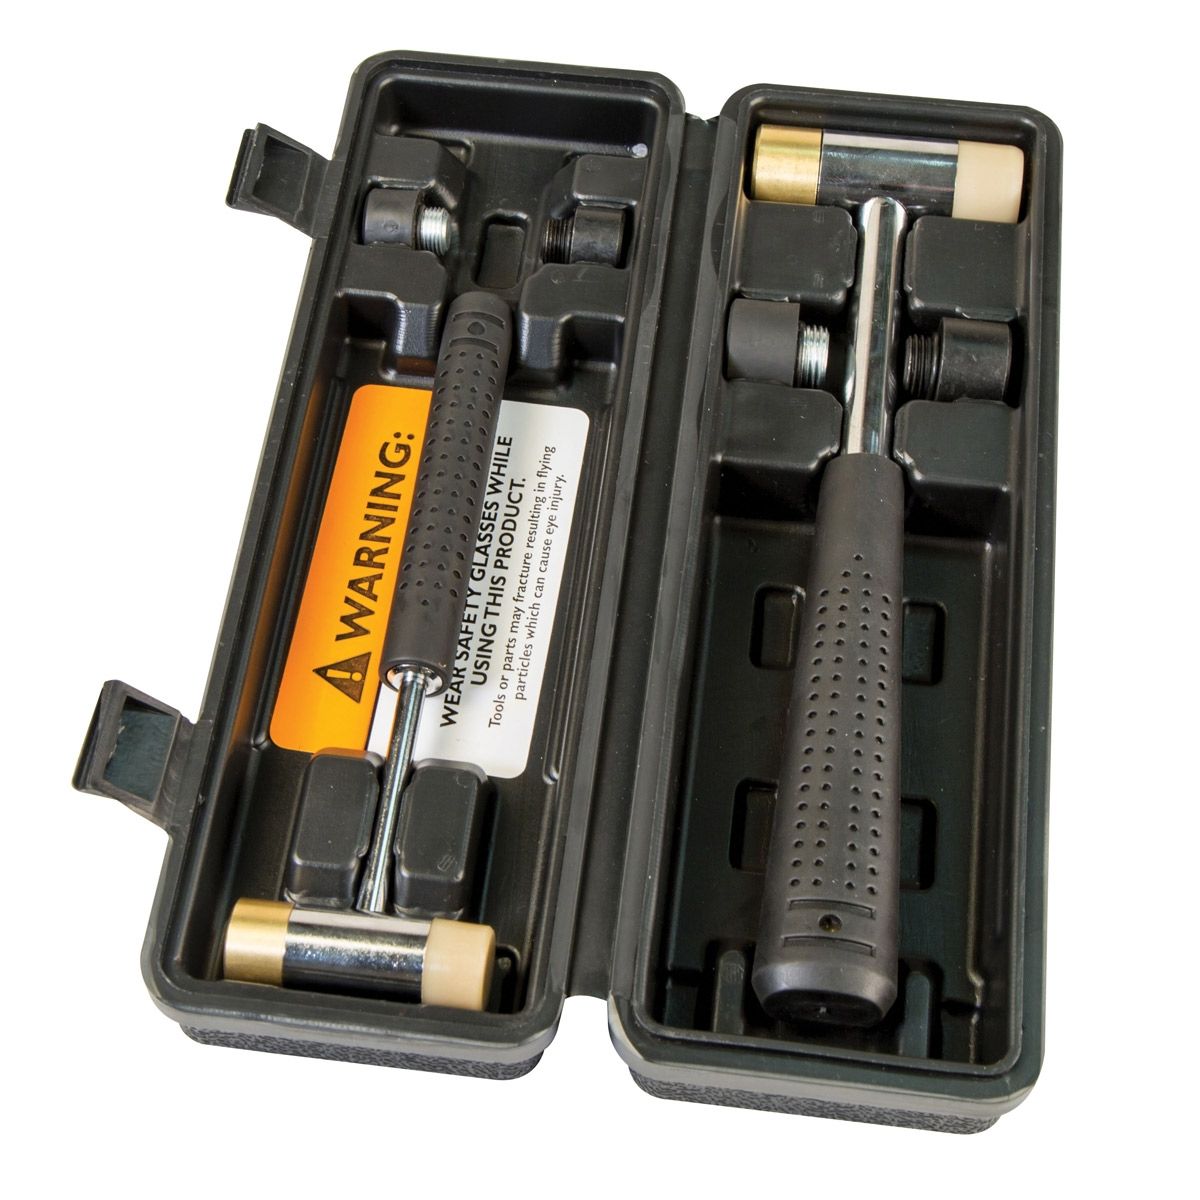
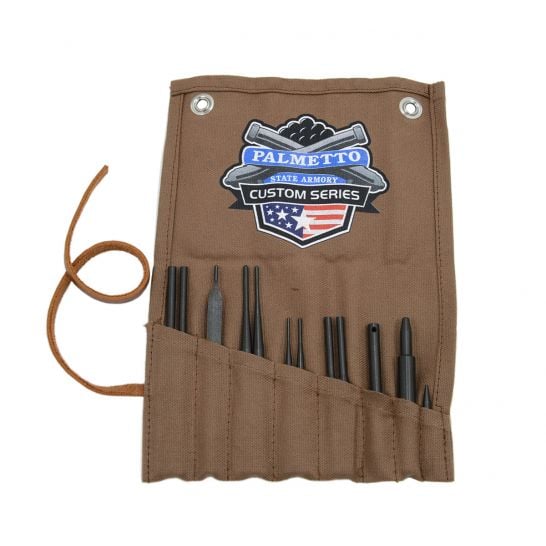
Punch set – You won’t believe how valuable punches are. You don’t need a fancy sight removal tool with a brass punch and hammer; however, sight tools are very convenient. Wheeler makes a great combo punch set with a hammer and brass and steel punches. If you are just looking for a high-quality punch set, PSA Custom has a great 12-piece punch set. If or when you break one, go for something more expensive.
Bastard Files – Bastard files are not always used, but when you need to relieve some metal somewhere, they are invaluable. Get Nicholson’s at the bare minimum. They are no longer made in the USA but will do the job. Mostly, they don’t last like they did 30 years ago.
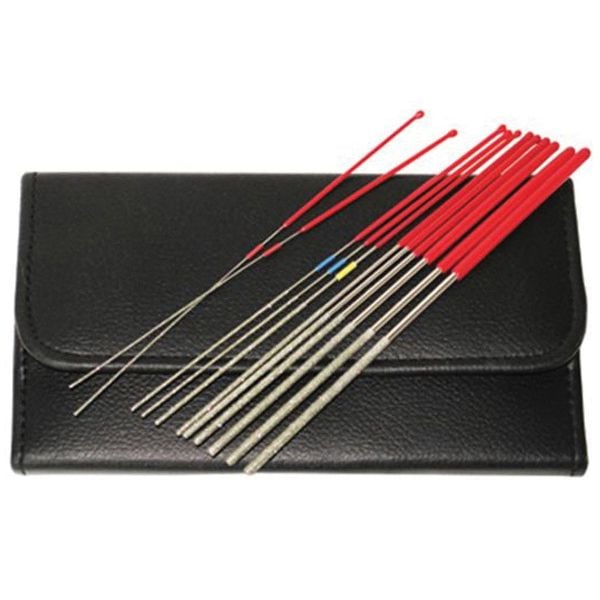
Needle Files – I use my micro files constantly, especially when building and fitting things. Take a little off here or there with precision, and your part begins to work.
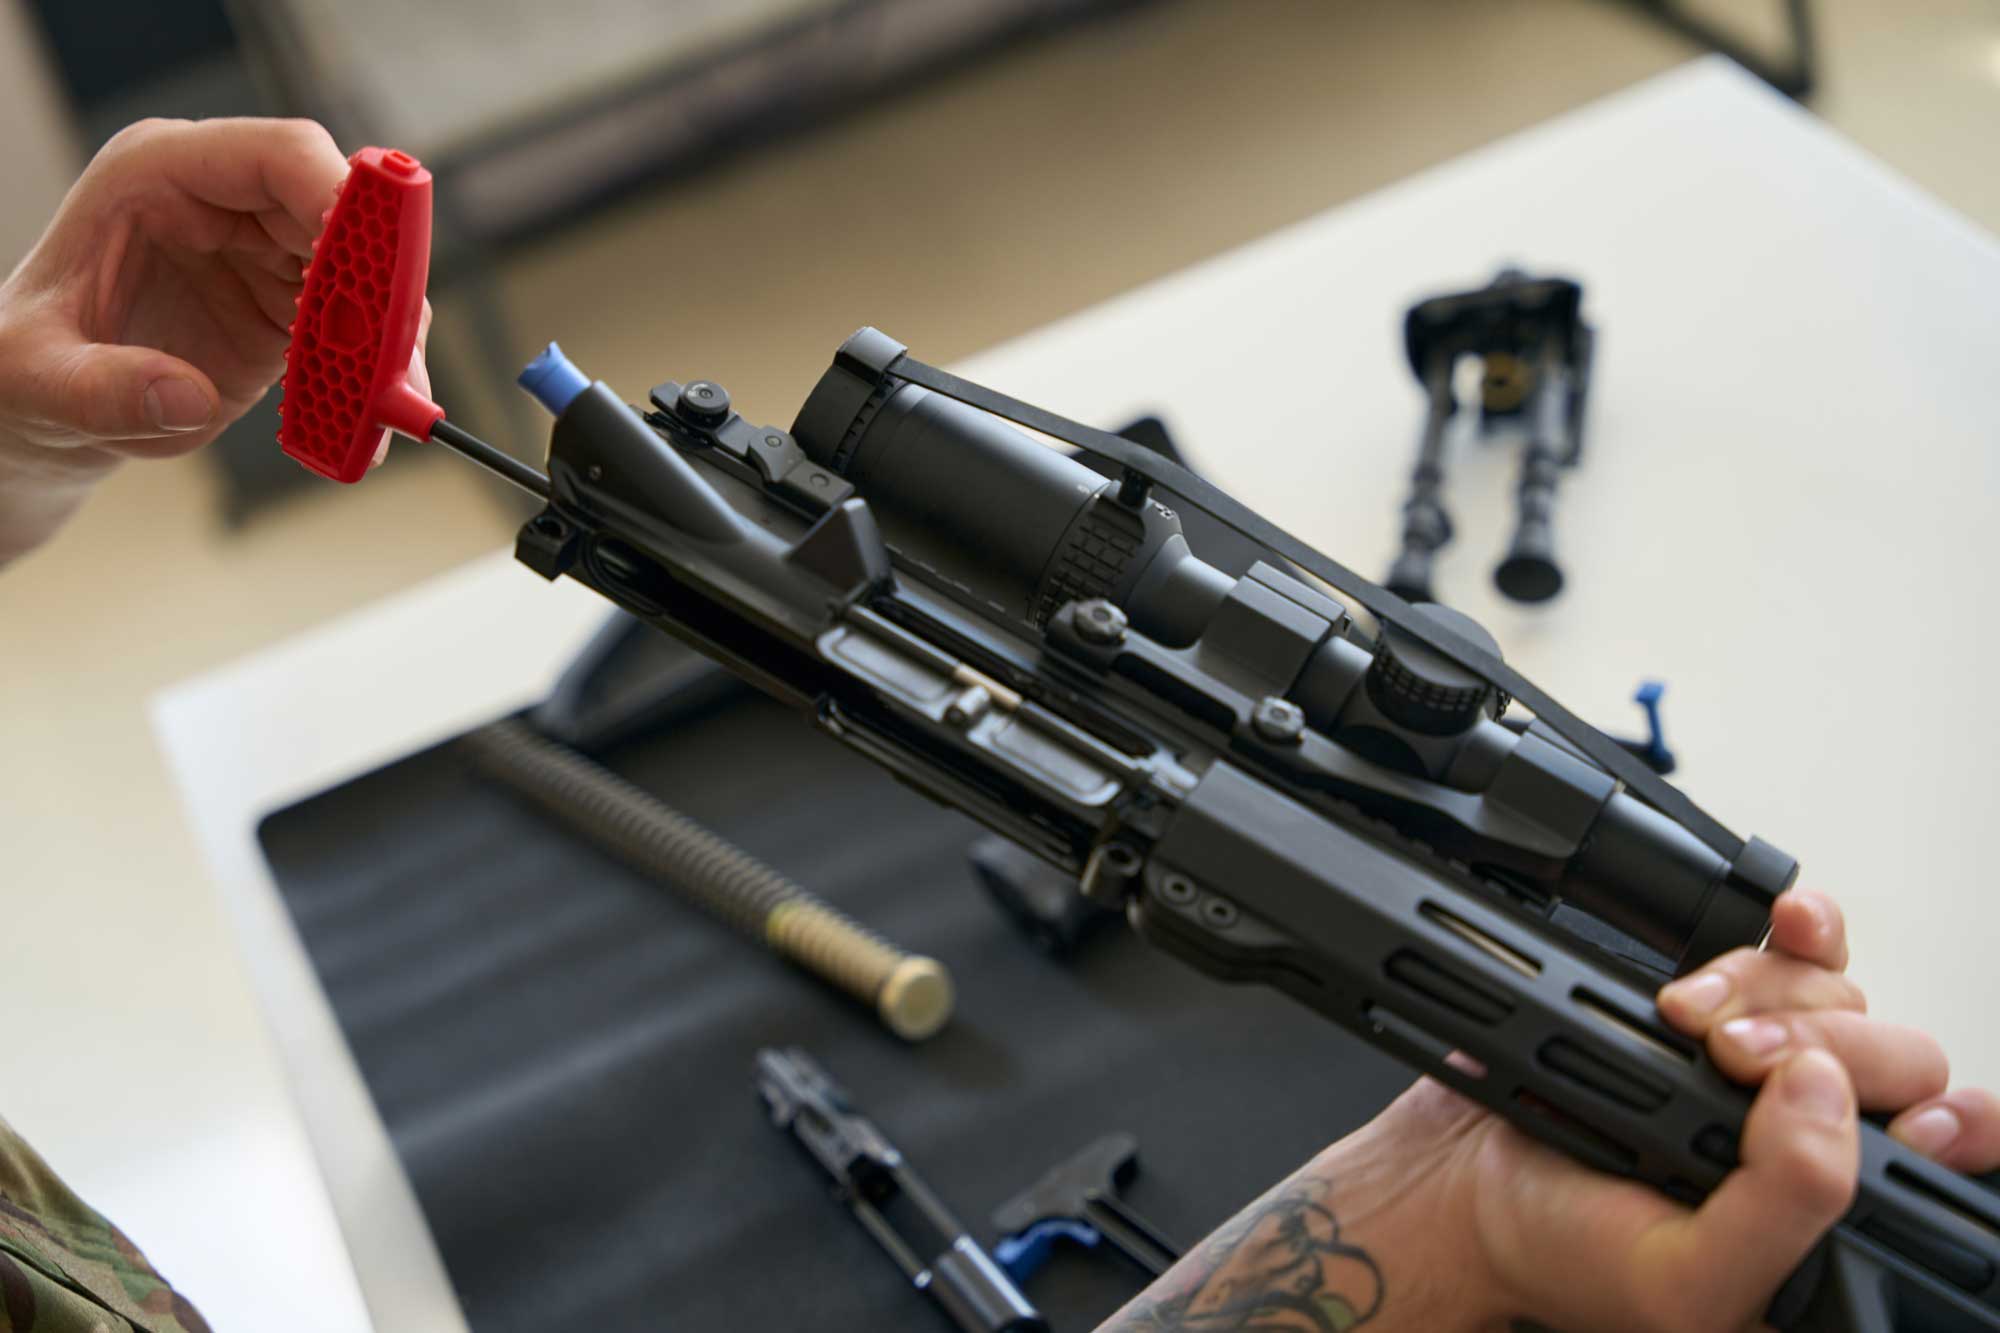
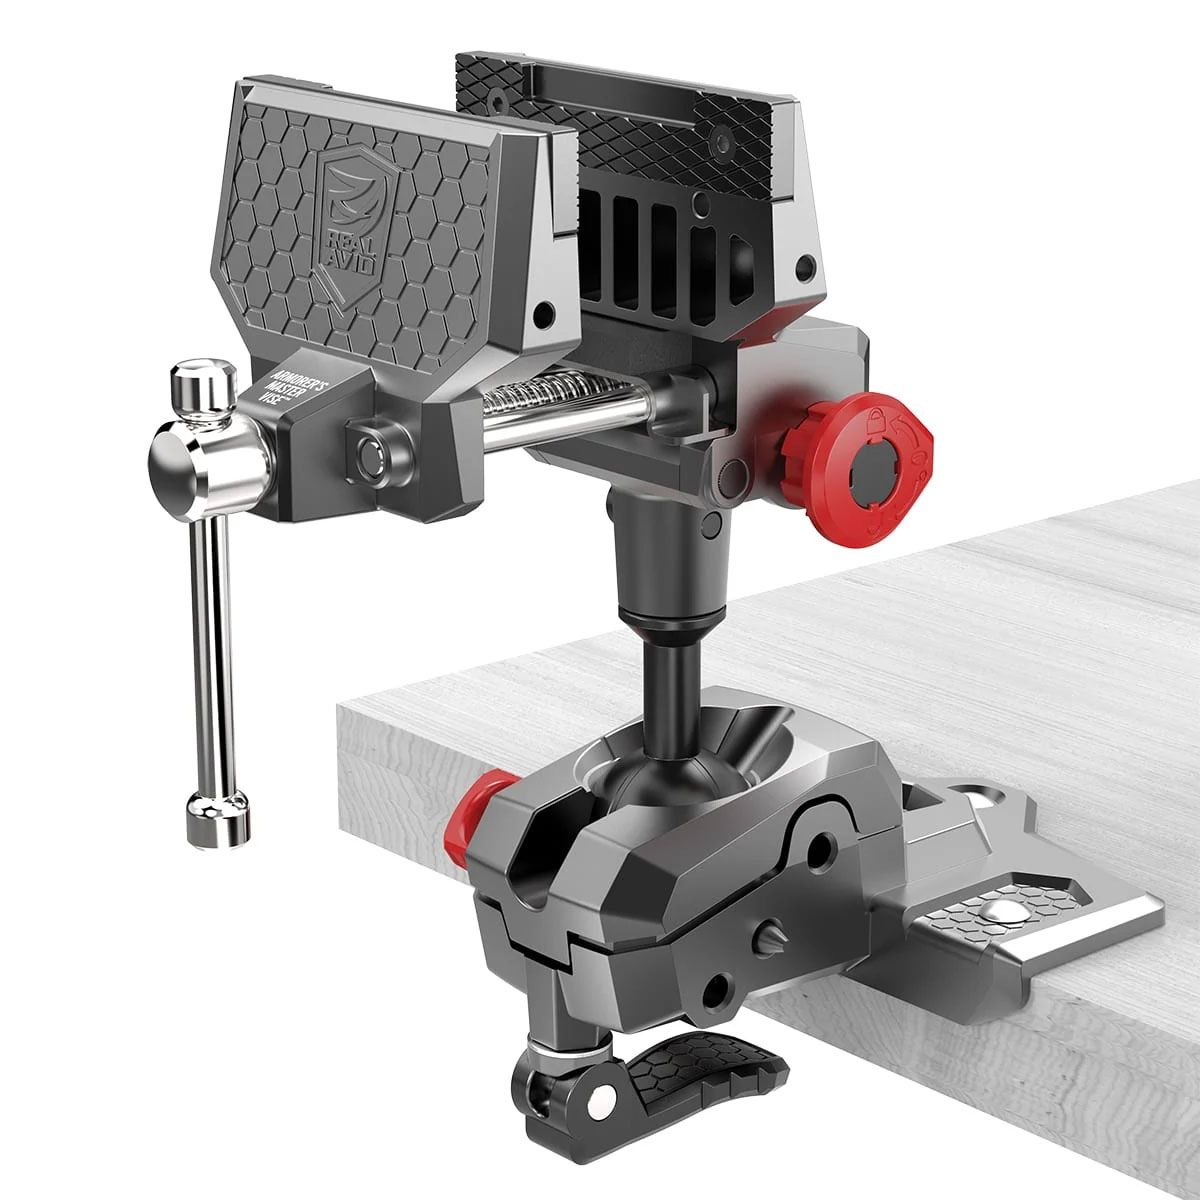
Gun Vise – I like the malleable style of metal jaw over the plastic ones. These ensure you don’t mar the finish of your gun while maintaining it in the fixture. Try the Real Avid Master Armorer’s Gun Vise.
Dremel – I’m going to say the dirty word, Dremel. A Dremel or rotary tool is invaluable when used correctly. The problem many gunsmiths see with Dremels is that people think you can save time by grinding on things instead of fitting with a needle file. Sometimes that works; sometimes, it will ruin what you are working on. Have one and know when and how to use it appropriately.
GUNSMITHING BOOKS

Before we move on, let’s chat about books quickly. A lot of gunsmithing information can be found on the internet, that’s for sure, however much more is stored in these old-world things called books. Pick up the latest Machinery Handbook. You want to check numbers against it now and then. If you specialize in certain firearms, look for books about them. I needed to fit a new ejector to my Colt Python and wanted to learn how it was done, so I picked up both books in the “The Colt Double Action Revolver” set, which shows how to work on just about any Colt. The info in those books can also translate over to other revolvers, of course. One last masterpiece is Firearm Blueing and Browning by R.H. Angier. There is info in that book that has never made it to the internet. Did you know that before hot blueing was popularized, rust blueing was king and most large operations had steam available on site so you wouldn’t have to boil each gun? Again, a fascinating read.
LARGE MACHINE SHOP TOOLS
Next, let’s discuss the large machine shop tools that allow you to make things, the first being a lathe.
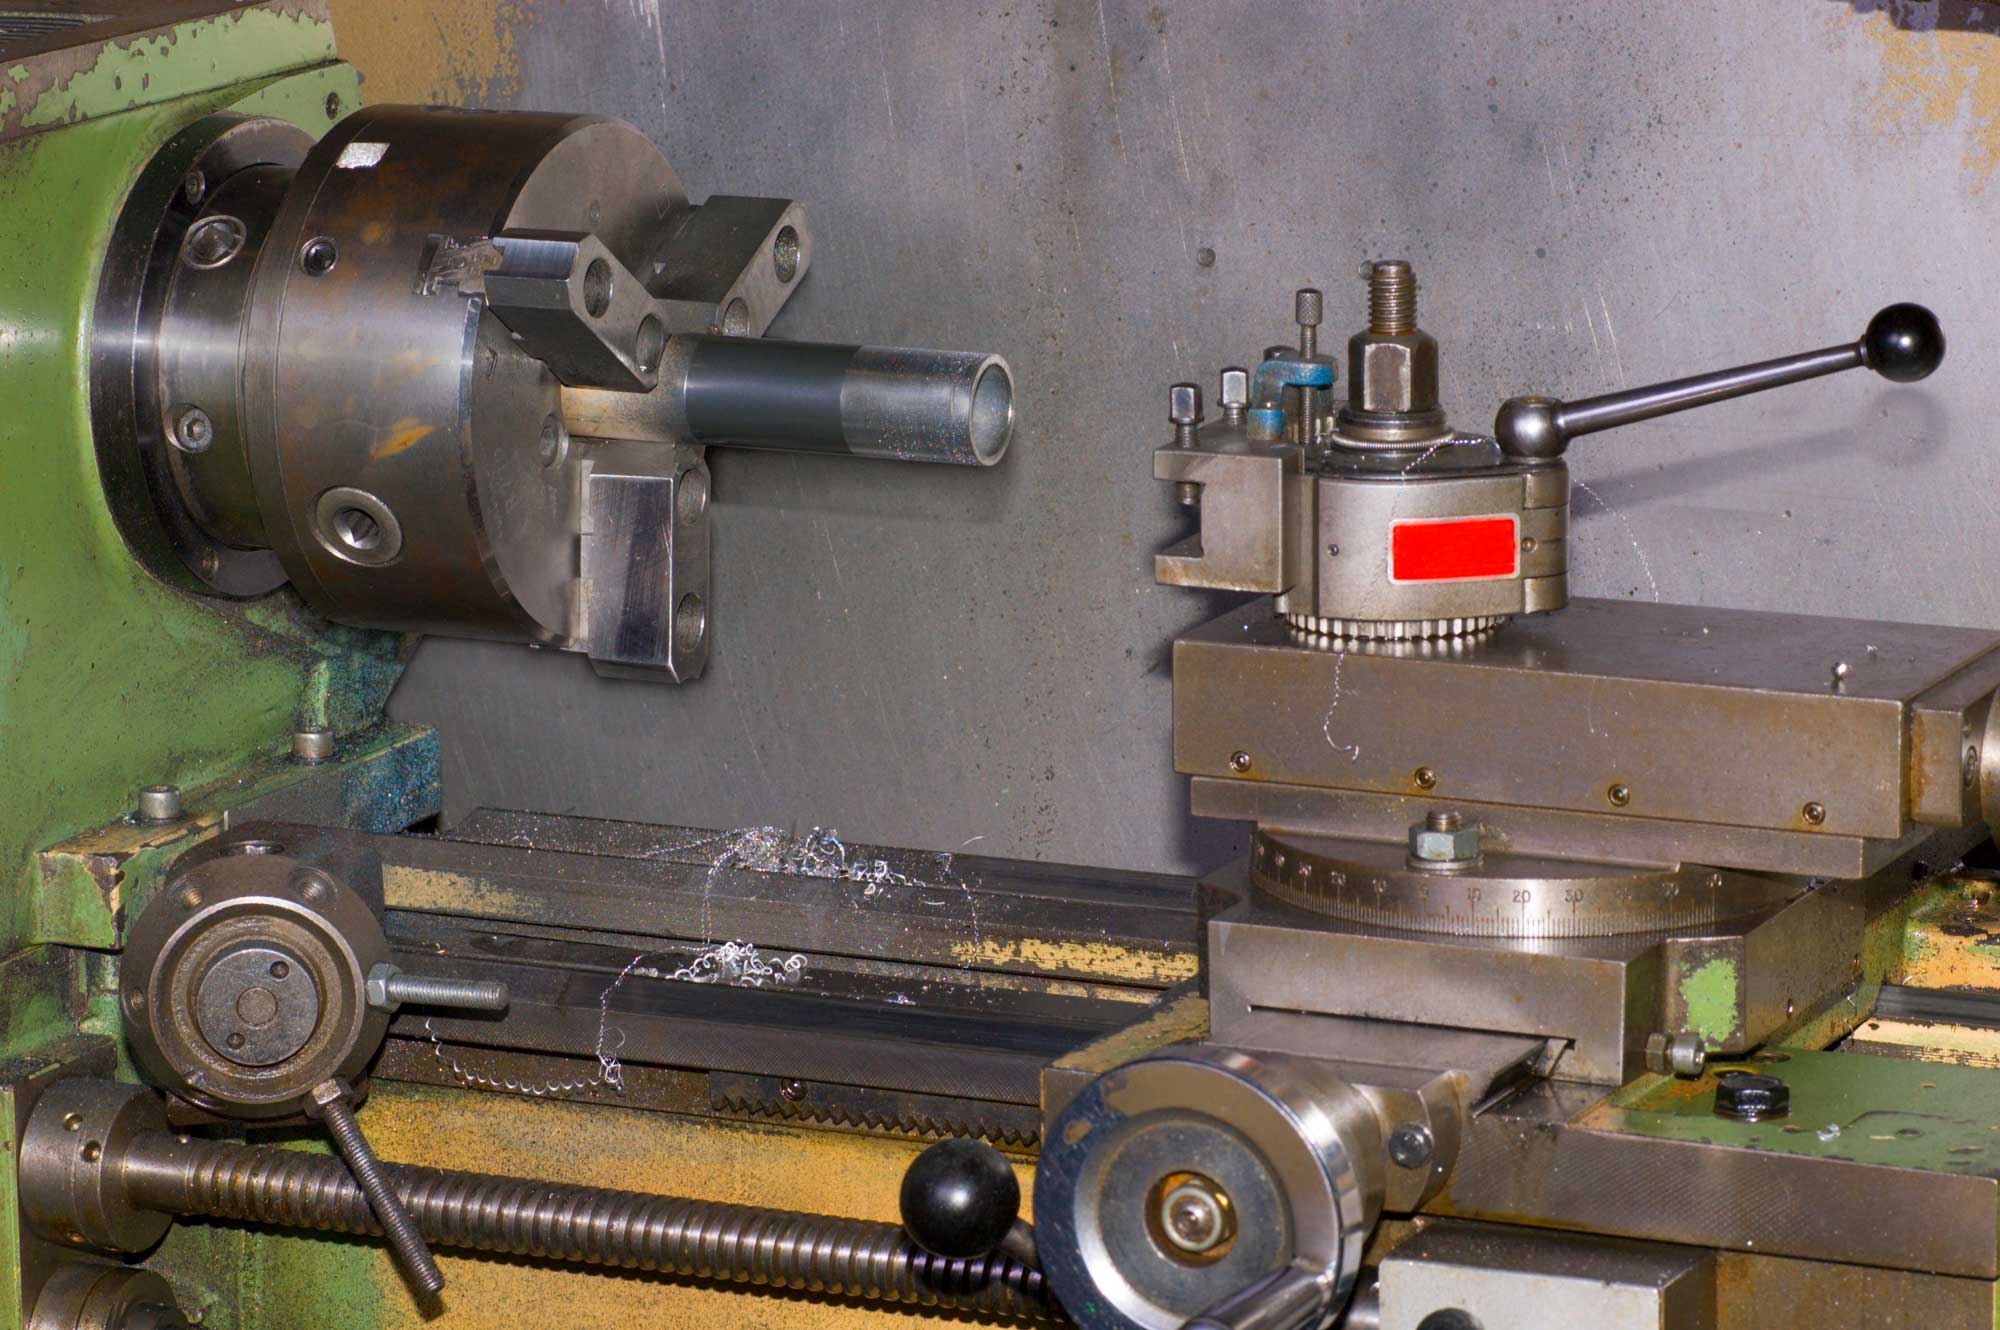
On the lowest level, a lathe is for turning metal round. With a proper gear train, you can also control the speed that the bed moves along the work, which is how threads are created. Now you don’t need the latest and greatest machine to get yourself running. I have a LeBlonde engine lathe from around 1930, which has been great for learning. I believe I paid $1400 for my massive beast and can turn just about anything. I’ve done quite a few chop and threads and made pins and screws for some guns. If you are going to get one large machine shop machine, start with a lathe; I wouldn’t be able to live without mine.
Next up, let’s discuss the venerable milling machine. Milling machines are just sturdy rigid drill presses that can move in 3 directions, up and down, forward and backward, and left and right.
I have a small chinesium milling machine from the 90s, which works okay. Grainger still imports almost the exact one I have. Because of the rigidity, a milling machine is excellent for drilling holes in barrels for pinning or for making sight cuts in slides for guns like the 1911. I don’t use my milling machine as much as my lathe, but it still comes in handy. I hope to upgrade one day to an old Bridgeport knee mill, but for now, I use what I have.
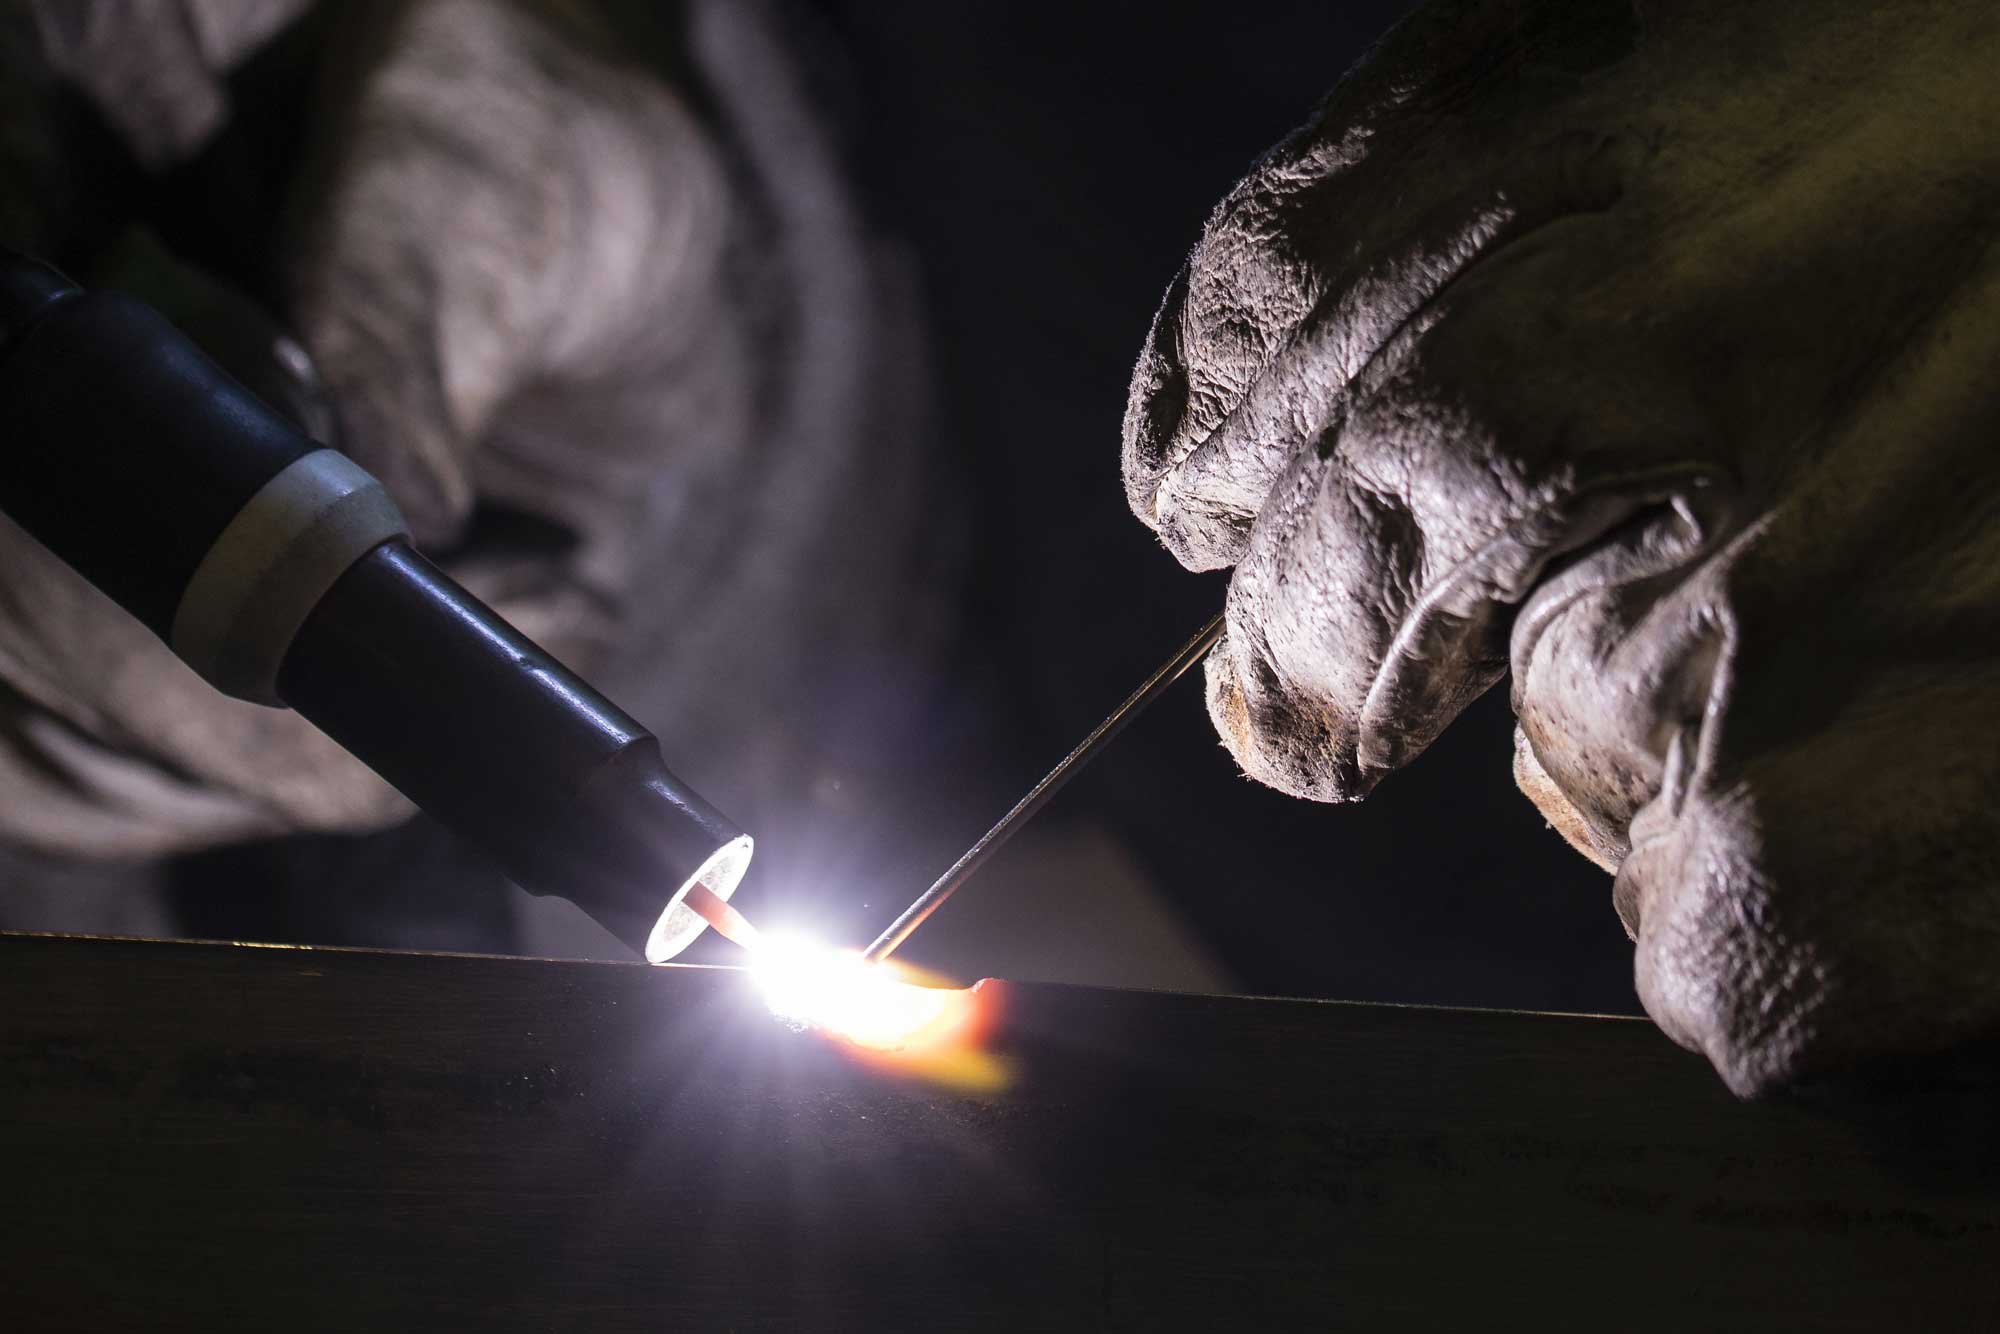
The last piece that comes in handy, but requires much practice, is a TIG welder. You will need a TIG welder if you plan to make things that require welding, such as HK roller guns. Don’t even think about using a MIG welder; put that right out of your head. TIG gives you excellent control over heat which is necessary when working on guns. A couple of you say, “I’m a skilled MIG welder; I’ll just use my MIG machine.” Stop it, don’t do that. This isn’t a car quarter panel. Pick up a TIG machine and practice on scrap to learn the art of TIG, and whatever you do, don’t compare your first welds to that weld porn out there. It’ll just make you feel bad.
Gunsmithing is, unfortunately, a dying art. To me, the best way to learn is by doing. I’ve broken loads of my guns, figuring out how my tools work and the proper way to do things. Just having the tools doesn’t make you a gunsmith. It takes years and years of practice to become competent in the necessary skills and then another 10 to 15 years to master those skills. Build up your tools chest as you can, and build up your skill set along with it. Remember to break everything around you before taking on customer work. You get a massive rewarding feeling from making things with your own hands. If you have the drive to be a good smith, practice as much as possible, and you’ll go far.